
Introduction
The Freescale FRDM-KL25Z board is an ultra-low-cost development platform forKinetis L Series KL1x (KL14/15) and KL2x (KL24/25) MCUs built on ARM® Cortex™-M0+ processor. Features include easy access to MCU I/O, battery-ready, low-power operation, a standard-based form factor with expansion board options and a built-in debug interface for flash programming and run-control. The FRDM-KL25Z is supported by a range of Freescale and third-party development software, including mbed platform.
The Digilent Basic I/O shield is an input/output expansion board designed for use with chipKIT microcontroller boards such as the Uno32™ and the Max32™.
The Basic I/O Shield provides simple digital input devices such as switches and buttons, and digital output devices such as discrete LEDs and high current open FET drivers. It provides more advanced devices such as an I2C EEPROM, an I2C temperature sensor, and organic LED graphic display. A potentiometer is also provided for use as an analog input device. The Basic I/O Shield is designed to the same form factor as the Uno32 board, but is also usable with the FRDM-KL25Z board.
Objectives
- Connect the mbed-enabled Freescale Freedom FRDM-KL25Z board to the Digilent Basic I/O shield
- Write the code for displaying the temperature reas by Microchip’s TCN75A I2C temperature sensor on the Digilent Basic I/O shield.
Required Equipment
The following boards are required:

Freescale FRDM-KL25Z board

Digilent Basic I/O shield
It is strongly recommended to solder headers on FRDM-KL25Z as they will be required to connect up with the Basic I/O shield.
Pre-Conditions
You must have already done:
- Installation in Windows of your FRDM-KL25Z board.
- The test of FRDM-KL25Z with simple exercise such as blinking the RGB LED.
If you done neither of the two above exercises, you ought to folow the introduction “Getting Started with mbed and Freescale FRDM-KL25Z board”.
Procedures
1) Wire up your boards
The following connections are recommended for this tutorial:
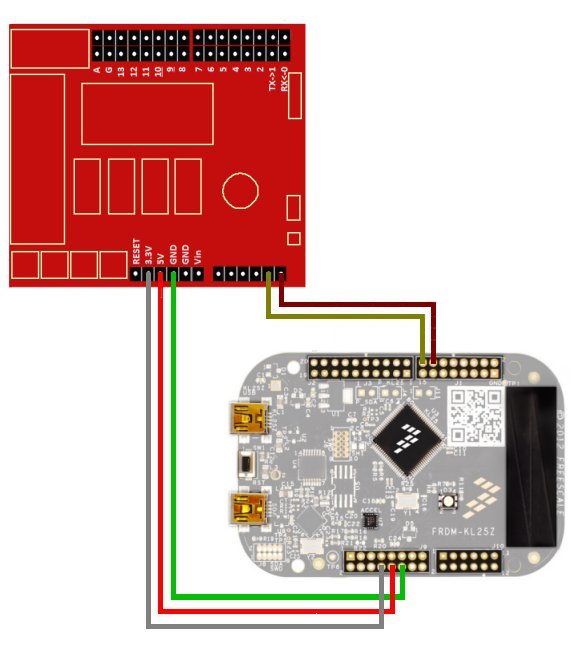
Connections between FRDM-KL25Z and Basic I/O shield
FRDM KL-25Z board is going to communicate with Microchip’s TCN75A temperature sensor on the Basic I/O Shield. The circuit diagram of temperature sensor TCN75A is:

Circuit diagram of TCN75A on Basic I/O Shield
2. Connect your mbed-enabled FRDM-KL25Z to your PC
Use the USB lead to connect your KL25Z to a PC, using the USB connector labelledOpenSDA.
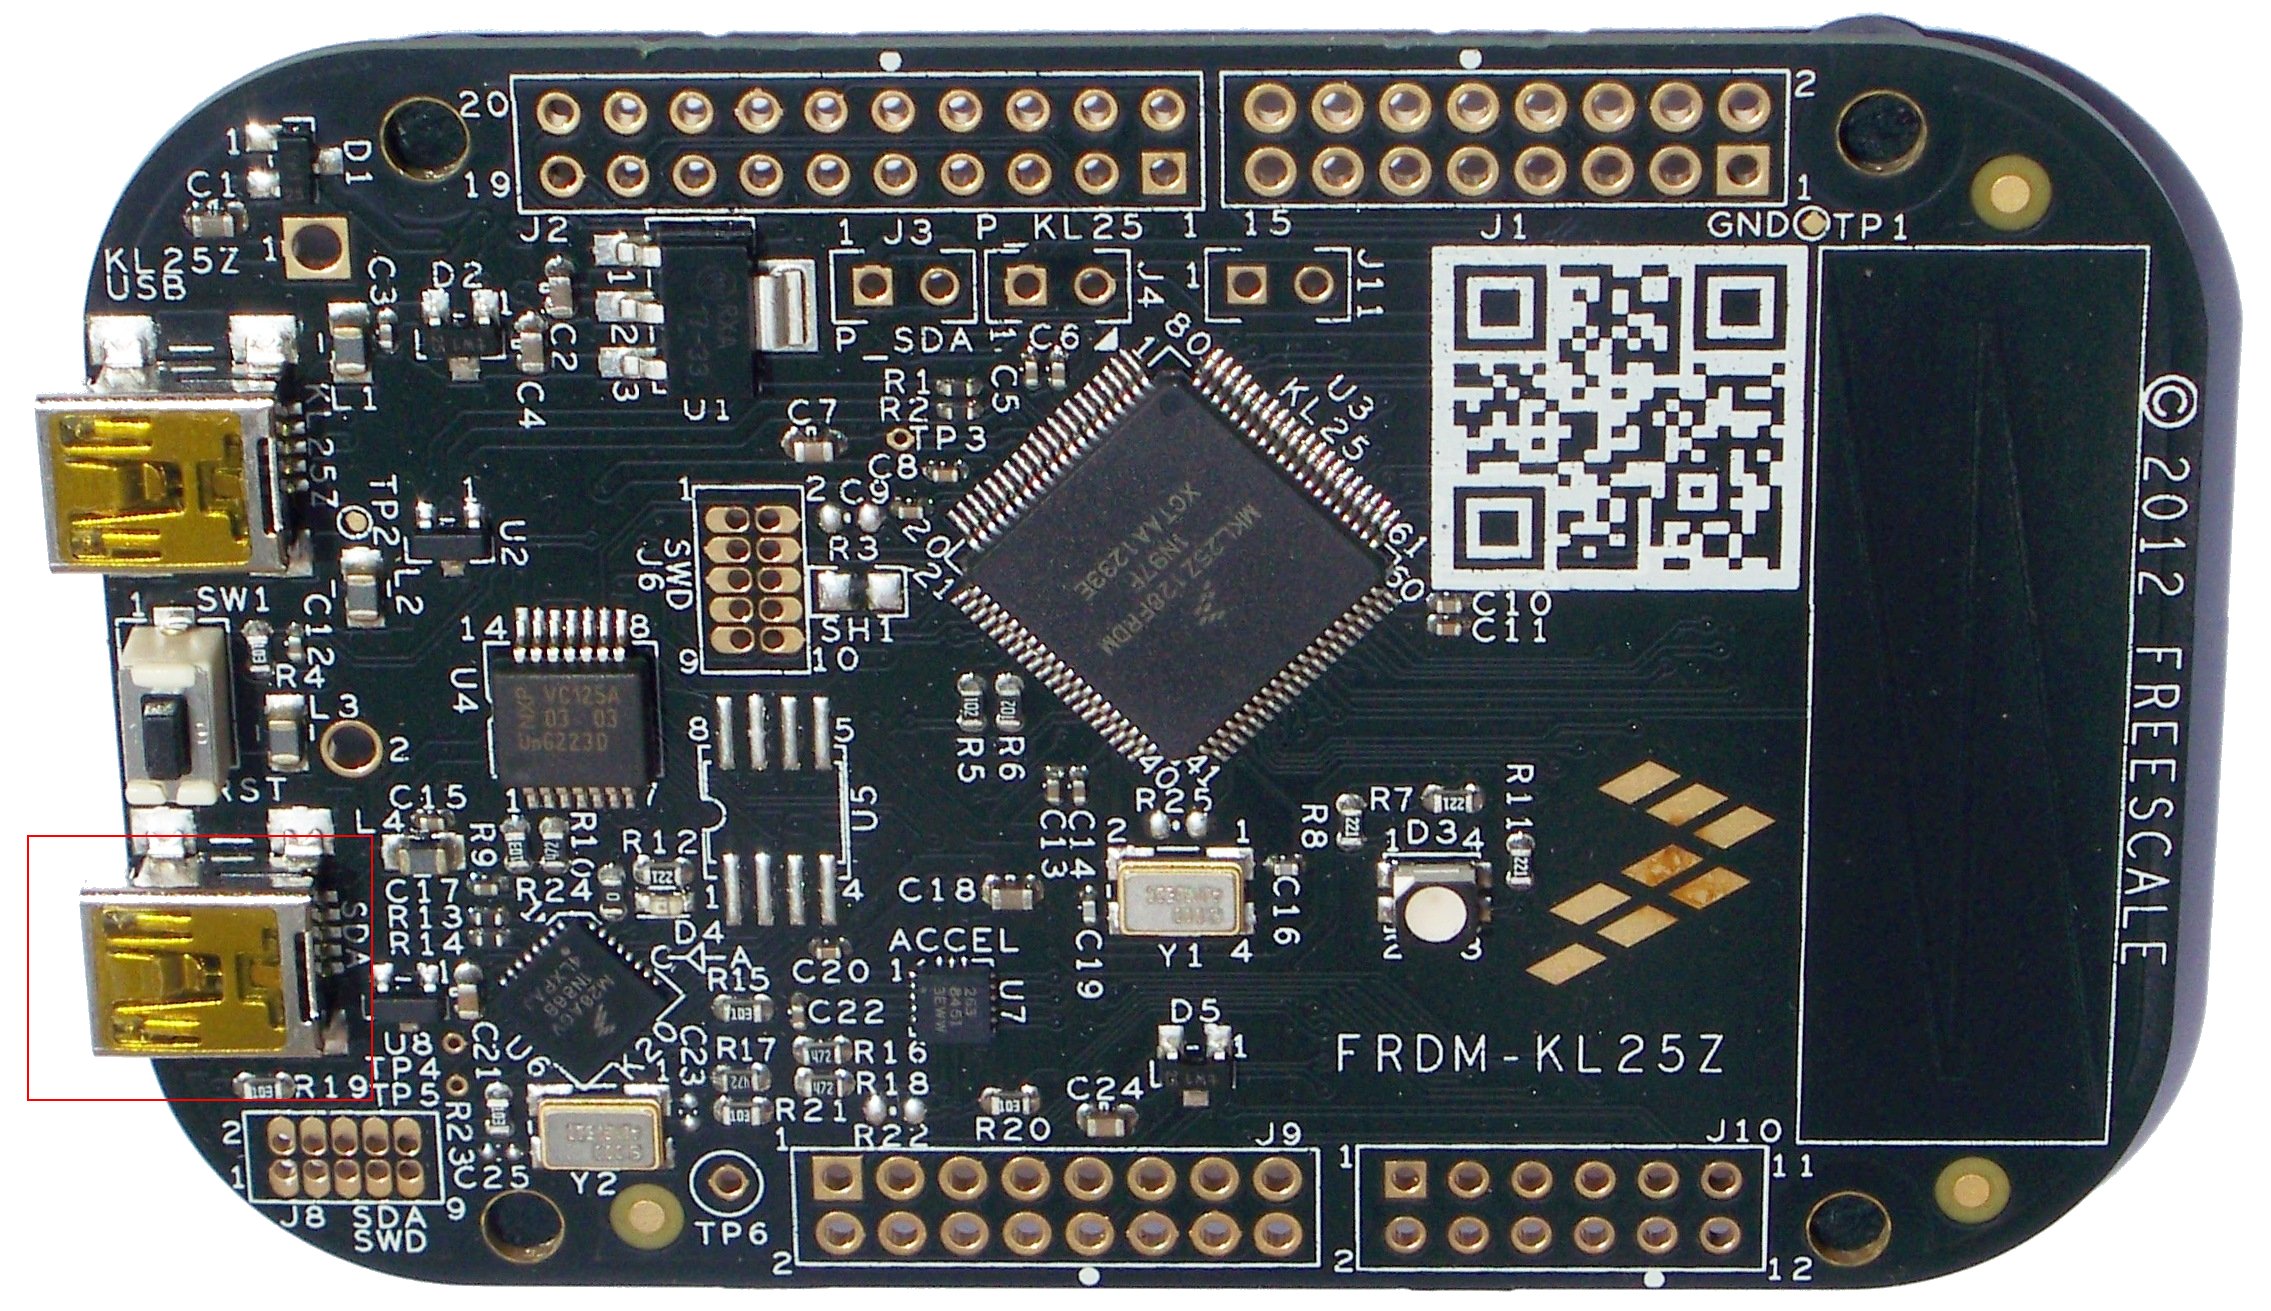
FRDM-KL25Z board. Red rectangle shows poaition of OpenSDA USB connector
The status light will come on, indicating it has power. After a few seconds of activity, the PC will recognise the mbed Microcontroller as a standard USB drive.
3. Visit the mbed website to get logged in and to compile
The URL for mbed website is:
Log in with your normal username and password. This will give you access to the website, tools, libraries and documentation.
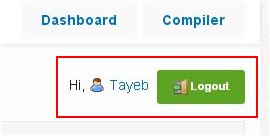
Already logged in
4. Open the mbed Compiler
Open the online Compiler clicking the Compiler button in the site menu (top-right of the page). This will open the Compiler in a new tab or window.
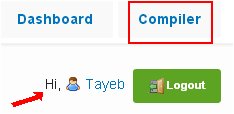
Red rectagnle shows the option to be chosen, and red arrow shows already logged in
NOTE: It will be your chosen name that will appear as logged in, obviously!
5. Write a new program
To write a new program in your personal Program Workspace:
- Right-click on My Programs, and select New Program…

Adding “New Program…” in Program Workspace
- Enter the name of the new program (e.g. IOShield_Temp), and click OK
Your new program folder will be created under My Programs
6. Add a source code to the program
- Add a new file by right clicking on IOShield_Temp program name. Give it the name of main.cpp.
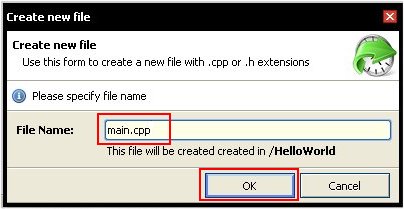
Pop up window to create a new file name
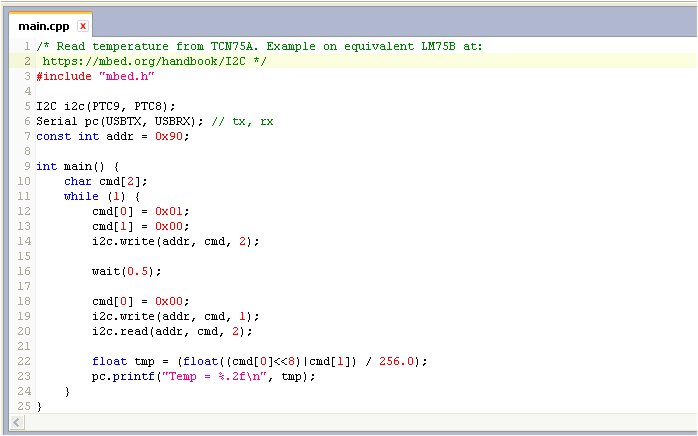
After adding new file, click on the main.cpp file in your new program, to open it in the file editor window. This is the main source code file in your program, and by default it is empty. Write the following program.
#include "mbed.h"

I2C i2c(PTC9, PTC8);
Serial pc(USBTX, USBRX); // tx, rx
const int addr = 0x90;

int main() {
     char cmd[2];
     while (1) {
        cmd[0] = 0x01;
        cmd[1] = 0x00;
        i2c.write(addr, cmd, 2);

        wait(0.5);

        cmd[0] = 0x00;
        i2c.write(addr, cmd, 1);
        i2c.read(addr, cmd, 2);

        float tmp = (float((cmd[0]<<8)|cmd[1]) / 256.0);
        pc.printf("Temp = %.2f\n", tmp);
     }
}
The result will be as shown:
It is always a good idea to comment your code. I have commented acknowledging the source of the code (in this case, the code was not written by me, although it is not “rocket science” and is used as an example of I2C code at mbed website).
- Add mbed library to the program folder
The other item in the program folder is the mbed library – this provides all the useful functions to start up and control the mbed Microcontroller, such as the I2C interface used in this example. Right-click on IOShield_Temp, choose Import Library… and From Import Wizard…
Choose mbed library and then click on Import button on the top right-side.
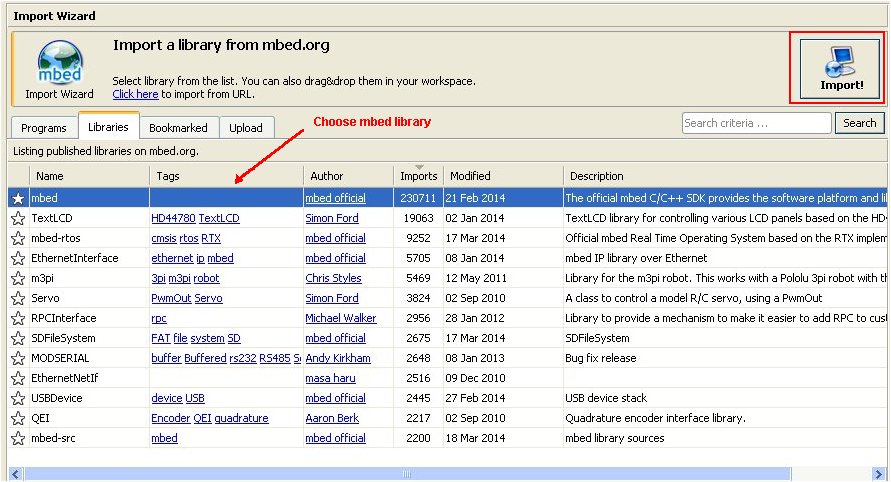
Import mbed library
Our Program Workspace will show that mbed library has been added to IOShield_Temp program.
7. Compile and Download the Program
To compile the program, click the Compile button in the top toolbar.

Compile button
This will compile the program source code files within the program folder.

Compiling the code
And a binary program wil be created.
- After a successful compile, you will get a Success! message in the compiler output and the download dialog will pop up to Save the binary program, or it will be automatically downloaded to your default Downloads folder.

Compiler output for IOShield_Temp
- Save it to the location of your PC in case of download dialog pop up.
NOTE: In Goggle’s Chrome browser, the compiled file will be downloaded to Downloads folder.
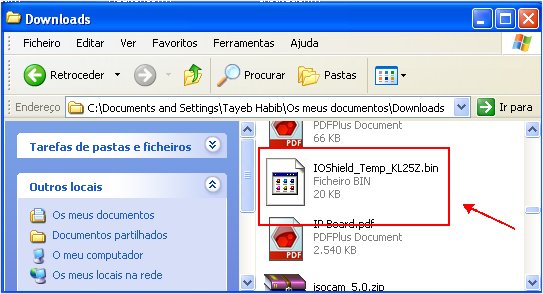
Compiler output for IOShield_temp in Downloads folder of PC
NOTE: If there are errors, they will show up in the “Compiler Output” window, and will need to be fixed!
- FRDM-KL25Z behaves a drive, so you find it in My Computer of your PC.

FRDM-KL25Z behaves as a drive in My Computer
- Cut, or drag, the IOShield_Temp_KL25Z.bin file in your PC’s Downloads folder and paste, or drop, in the mbed Microcontroller folder, wait a few seconds for the drive folder to close automatically, and then hit reset on the microcontroller to start it running!
If everything goes well, FRDM-KL25Z is programmed.
7. Display the temperature
Launch a Terminal program such as Putty, or Termite. Ensure that the configuration settings of the port are Baud Rate 9600, Data bits 8, Stop bits 1, Parity none, Flow Control none. My port number is COM23 as can be seen (Termite’s port settings).

Serial port settings
My FRDM KL-25Z board is connected to port 23. The port number can be seen at Device Manager of your Windows.
You will see immediately the temperature values being displayed:

Temperature output
As shown on above figure, once the program is running, the temperature is displayed. Now by putting your finger on the TCN75A sensor on the Basic I/O Shield, it is possible to raise the temperature and to view its value.

TCN75A on Basic I/O shield
Conclusions
Mbed offers the development environment — editor, compiler, libraries and reference materials — entirely on the web. There is no software to install or maintain on the host system. With quick proof-of-concept solutions such as Basic I/O shield we can easily test our ideas and projects.
We have the read the temperature writing code for FRDM-KL25Z board. The same system could be used to control fans or other items in a house based on specific temperatures.

Pingback: Remote Viewing of Temperature with FRDM-KL25Z and TCN75A on Basic I/O Shield | RedAcacia